Client: Default Job Notifications Settings
To set default job notifications settings for a client, follow the steps below.
- Select My Messages from the main menu at the top of the screen. Select Notification Defaults option from the sub menu, as below.

- The Default Notifications Settings page is displayed, as below.
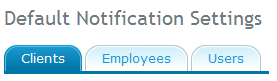
- Select Clients tab, and you can see Job Notifications list. Click on Setup button and Client Job Notification dialog is displayed, as shown below.
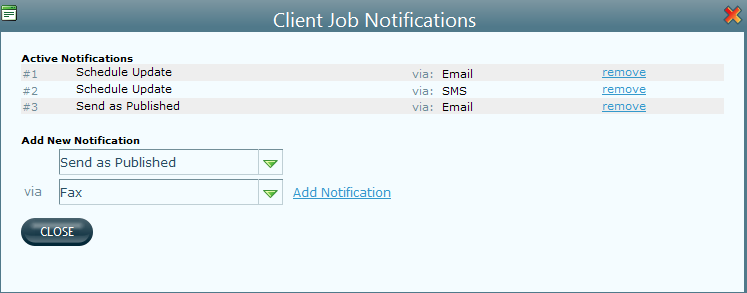
- Select an option from Add New Notification list, as explained below.
- Send as Published: Select this option to send the notification on users' mobile phone, when the schedule is published.
- Send At Day Before Schedule: Select this option to send the schedule a day before it is published. Click on the time icon to select a time when you want the client to be notified.
- Schedule Update: Select this option to send an updated schedule to the client.
- Manually sent from planner: Select this option if you want the send the notification from planner, manually, that the schedule is published.
- For all the above options, select the mode of communication in via drop-down list.
- Click on Add Notification link and you can see the new notification added to the list of Active Notifications.
- Close this window to save these settings.
See job notifications preferences for a client, for more details.